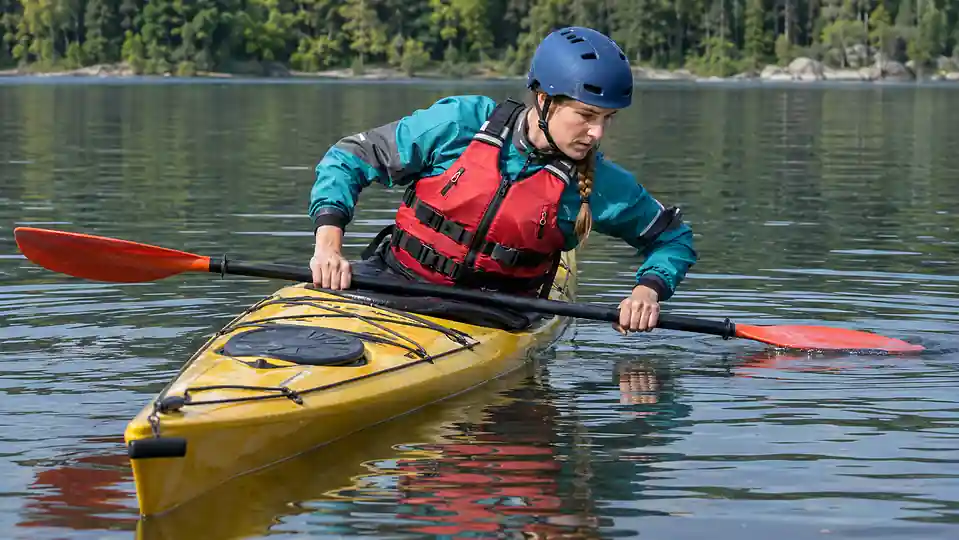
A kayak brace is a fast recovery movement that uses the paddle for momentary support while your lower body brings the hull back underneath you. The most reliable sequence is: recognize the tilt early, place the correct blade face flat near the surface, keep the working shoulder protected, drive the kayak upright with the knee and hip, then let the head rise last. The paddle interrupts the capsize; it should not become a lever from which you hang your body.
Remember this order
Blade meets the surface → lower body levels the boat → torso follows → head comes up last → blade slices free. If the head and shoulders lead, the boat often keeps rolling.
This guide starts with the low brace because it is the foundation most paddlers can use while the kayak is only beginning to tip. It then explains when a high brace may help, how to reduce shoulder exposure, and how to practice without treating a brace as a substitute for a wet exit, re-entry or qualified instruction.
What a Brace Can—and Cannot—Do
Bracing reverses the sideways momentum of a kayak before a developing capsize becomes a full inversion. It is closely connected to edging: edging deliberately holds the hull on one side of its secondary stability, while a brace helps recover when that edge goes farther than intended.
The American Canoe Association’s current River Kayak Skills Assessment and Guide places a bilateral low brace at an earlier progression level and introduces high and dynamic bracing later with injury risk minimized. That sequence is useful for recreational and touring paddlers too: build calm, repeatable boat control before adding a deeper lean or moving water.
A brace is not a guarantee against capsize. It also does not replace knowing how to leave a sit-inside kayak, recover the boat and re-enter. The ACA’s Level 2 touring assessment treats low-brace recovery, capsize and wet exit, assisted re-entry, and self-rescue as separate skills. That is the right mental model: prevention and recovery belong in the same safety system.
Do These Checks Before Practicing on Water
- Wear an appropriate, properly fitted PFD. The US Coast Guard recommends wearing an approved life jacket while underway; local rules and suitable product labels still apply.
- Know your wet exit first. If you use a spray skirt, confirm its release loop is outside and reachable. Practice the exit with direct supervision in safe water before deliberately increasing the edge.
- Use warm, calm, obstruction-free water. Begin where you can stop immediately, away from current, traffic, strainers, rocks and breaking waves.
- Have a capable spotter or instructor beside you. A video can show the idea, but it cannot stabilize your boat, assess your shoulder position or manage a failed exit.
- Fit the kayak. Feet, thighs, hips and seat must make secure but releasable contact. Loose outfitting prevents small leg movements from reaching the hull.
Before working on this skill in current, review the broader progression in our whitewater kayak beginner guide. The consequence changes with the venue even when the basic movement looks similar.
Build the Low Kayak Brace in Five Connected Movements
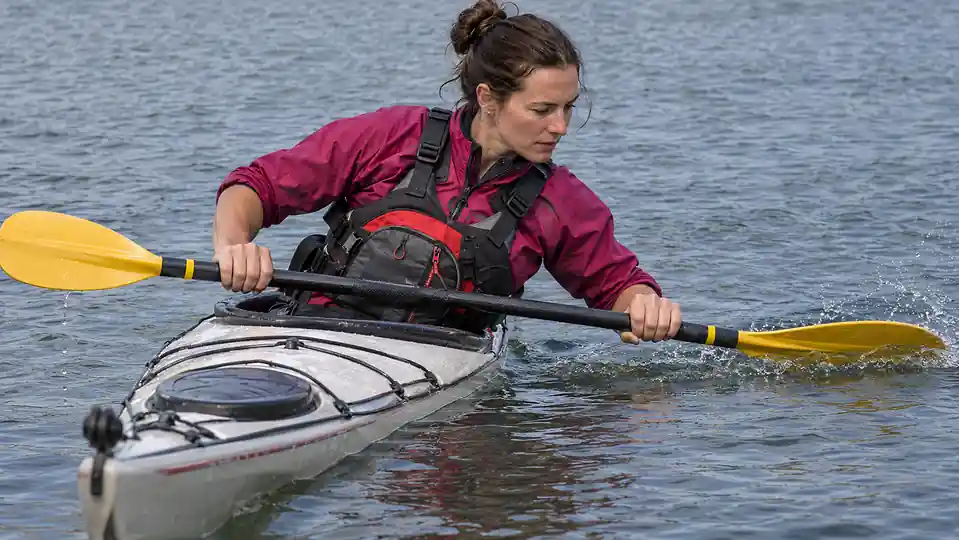
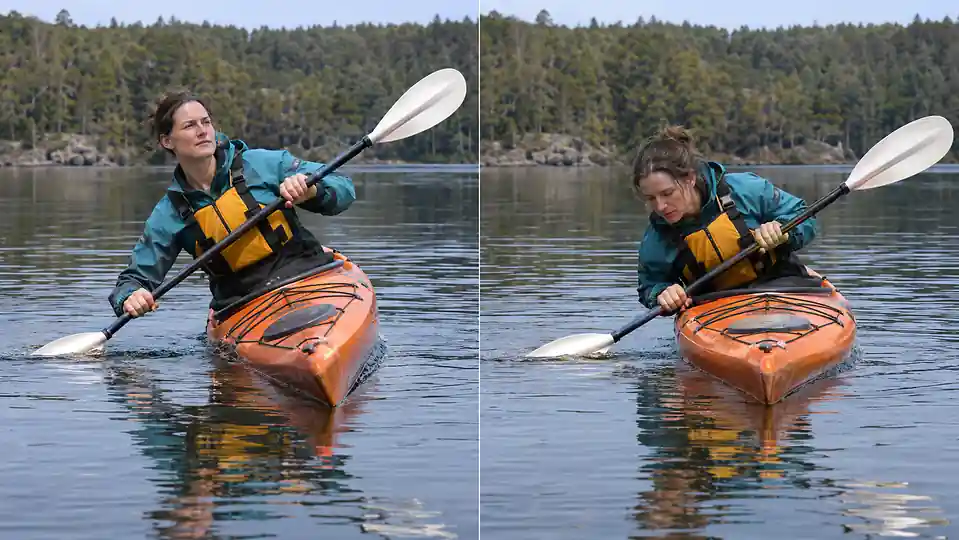
The low brace starts with your hands above the shaft and the back face of the working blade toward the water. Think “push-up position,” but keep the movement compact. This form of kayak brace should interrupt a small developing capsize without turning the paddle into a distant handrail. The word low refers to the hand-and-shaft relationship, not to reaching the blade deep underwater.
1. Detect the lean before your torso falls outside the boat
Look ahead and stay loose enough to notice the hull rolling under you. An early response needs only a small amount of surface support. Waiting until your upper body is far beyond the cockpit makes the recovery slower and encourages an unsafe reach.
2. Rotate the back face of the blade flat to the surface
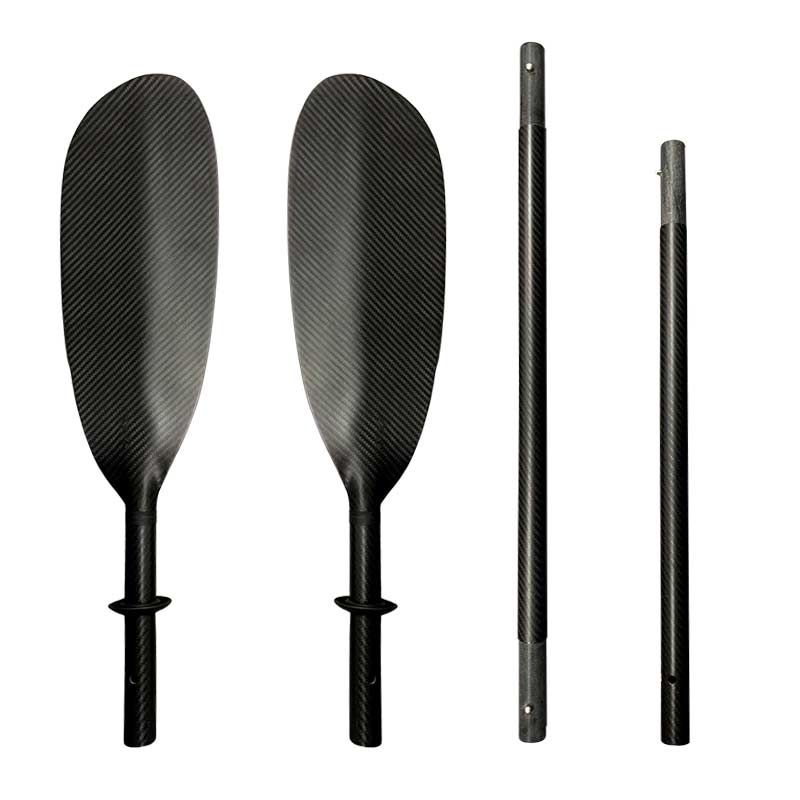
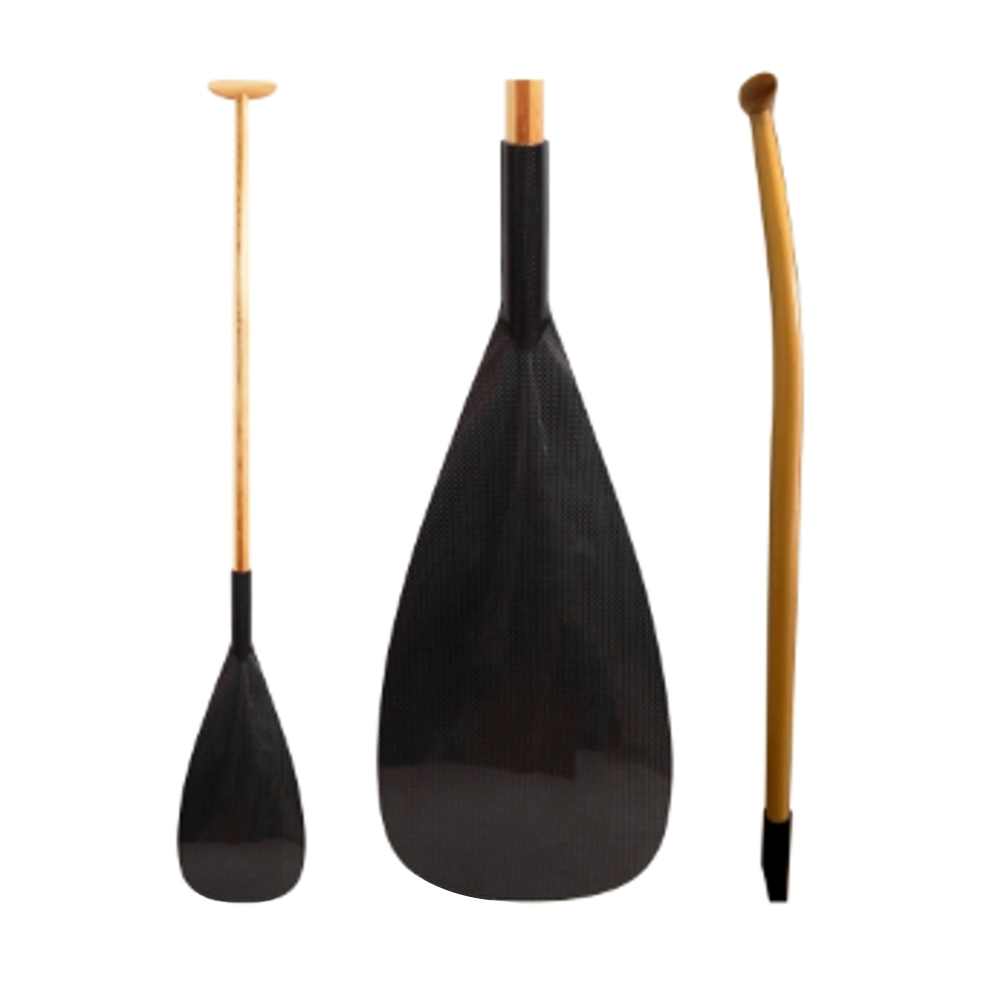
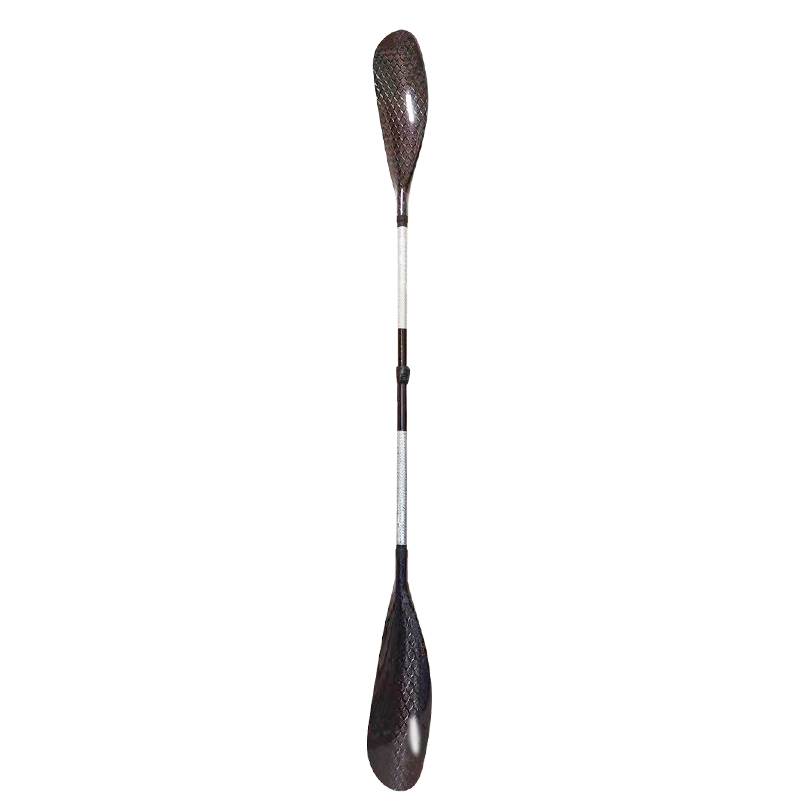
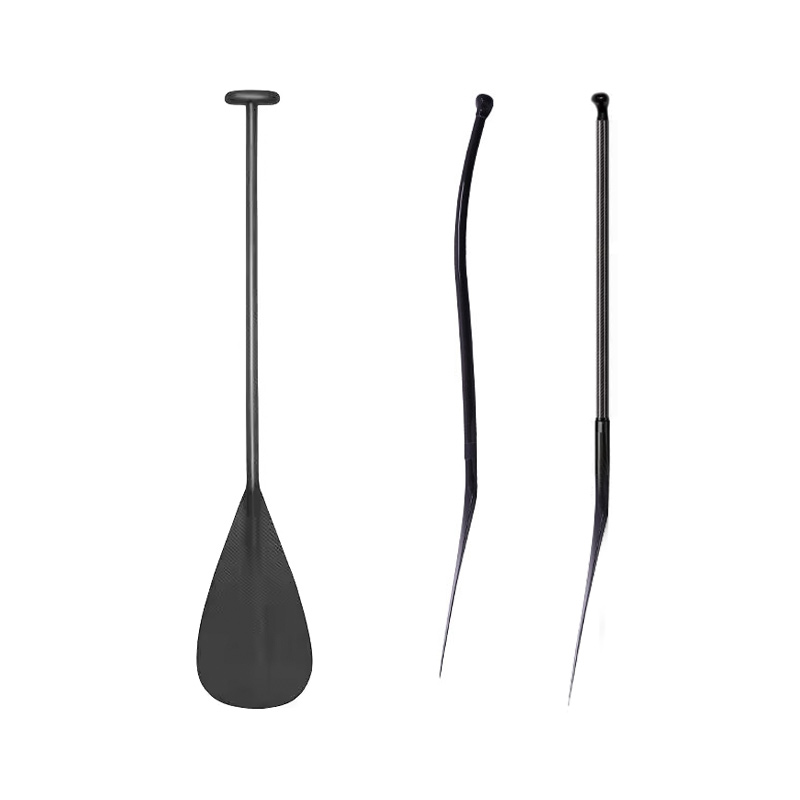
Bring the shaft across the front of your body, approximately horizontal, with the working blade close enough that your shoulder remains connected to your torso. Rotate at the forearms and wrists only as much as needed to place the blade’s non-power face nearly flat. If you are unsure which surface is which, review the blade terminology in our guide to kayak paddle parts.
3. Make brief surface contact instead of a deep push
Meet the water with a flat blade. A sharp slap is useful as a learning cue, but the objective is not noise or force. The support decays as the blade sinks, so the lower body must begin its recovery immediately. Reaching far away creates a longer shoulder lever without guaranteeing more useful support.
4. Pull the bracing-side knee up as the opposite side settles
Drive the hull back underneath your center of mass using contact at the thigh, hip and foot. Coaches often call this a hip snap or hip flick, but it should feel like coordinated lower-body rotation rather than a violent sideways crunch. The boat should lead; your upper body follows because the blade gives it a brief reference against the water.
5. Keep the head low, then slice the blade out
Keep your eyes near the working blade and your ear inclined toward the bracing-side shoulder until the hull is nearly level. Then relax the pressure, rotate the blade toward an edge and slice it out. Trying to lift a loaded, flat blade vertically wastes effort and can tip you again.
Low Brace or High Brace? Choose by Position, Not Ego
A high brace uses the power face of the blade and a pull-up-style hand position. It can provide a powerful recovery when the paddler is already deeper into a capsize, but “high” does not mean lifting the hands or elbows above the shoulders. The name describes the hand relationship to the shaft.
| Decision point | Low brace | High brace |
|---|---|---|
| Blade face on water | Back face | Power face |
| Hand relationship | Hands above shaft, push-up style | Hands below or behind shaft, pull-up style |
| Best learning use | Early, small-angle recovery on both sides | Later instruction for a deeper recovery position |
| Shoulder cue | Compact reach; do not lock or overextend the working arm | Elbows low and forward; keep hands and shaft in front of the torso |
| Frequent mistake | Pushing the blade deep before the hull moves | Reaching wide with the elbow behind the shoulder |
NRS’s instructor-led kayak safety skills guide warns that poor high-brace form can hyperextend the shoulder and advises keeping the arms and paddle low, with the forearms close to vertical. REI’s brace-stroke tutorial similarly emphasizes the paddler’s box, a compact blade reach and low elbows in the high brace. Learn that position with a qualified instructor rather than testing how far you can fall and pull.
The Head-Last Cue Is About Boat Control, Not Neck Force
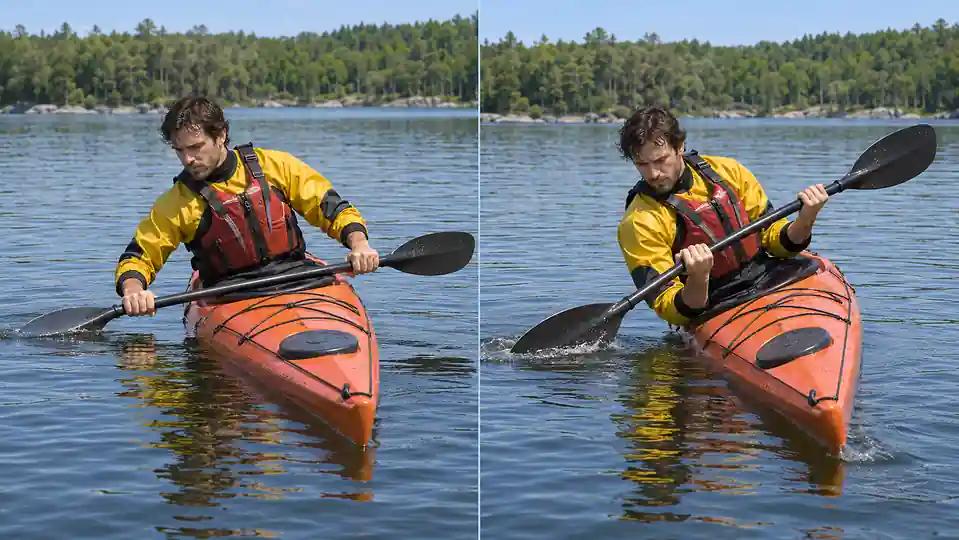
“Head comes up last” can sound theatrical. In practice, it means keeping your head close to the water on the recovery side while the hull rotates upright. Your head is a heavy mass at the end of your torso. Lifting it early moves that mass away from the boat and often causes the wrong knee to press against the deck.
Try the lower-body movement before using the paddle. Beside a low dock, pool edge or the bow of a securely held partner boat, let the kayak tip slightly while your hands receive stable support. Level the hull with your knee and hip while your cheek remains close to your hands. This isolates the movement that the paddle stroke must accompany. Do not practice alone, under an overhanging structure, or in a place where your hands could be trapped.
A Safer Six-Stage Practice Progression
- Dry paddle orientation: sit on shore and identify the power face, back face and slicing edge without looking at your hands.
- Supported lower-body recovery: in supervised shallow water, use a stable support to level the kayak from a very small edge.
- Stationary low brace: use only enough lean to make the blade touch the surface; repeat on both sides.
- Increase the edge gradually: add a few degrees only after the previous recovery is quiet, compact and repeatable.
- Add gentle forward movement: use the low brace after a controlled edge while maintaining a clear path and spotter support.
- Transfer to realistic water with coaching: progress from flat water to small, predictable disturbances—not directly to surf or whitewater.
Use short sets. Three technically clean repetitions per side are more useful than twenty fatigued slaps. A kayak brace should become quiet and repeatable before you increase the edge angle or water movement. Stop if shoulder pain, panic, cold stress, repeated wet exits or poor boat control appears. A learning session should increase options, not remove them.
Fit and Paddle Setup Change the Feedback
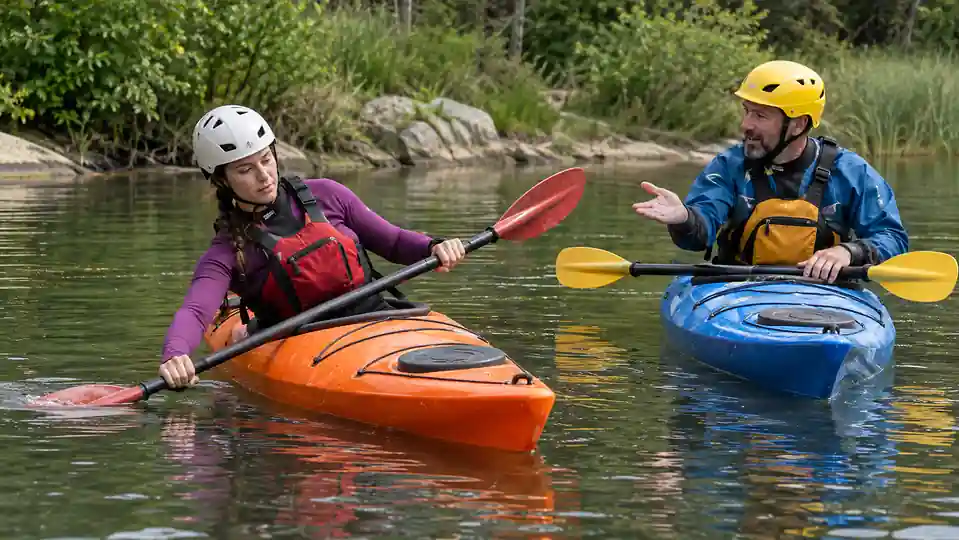
Technique remains primary, but equipment changes how clearly you feel it. Hip pads and thigh contact should transmit movement while still allowing an uncomplicated exit. A very loose recreational cockpit may not respond like a snug touring or whitewater kayak; a sit-on-top relies more on leg pressure and weight shift because there are no thigh hooks to lift the deck in the same way.
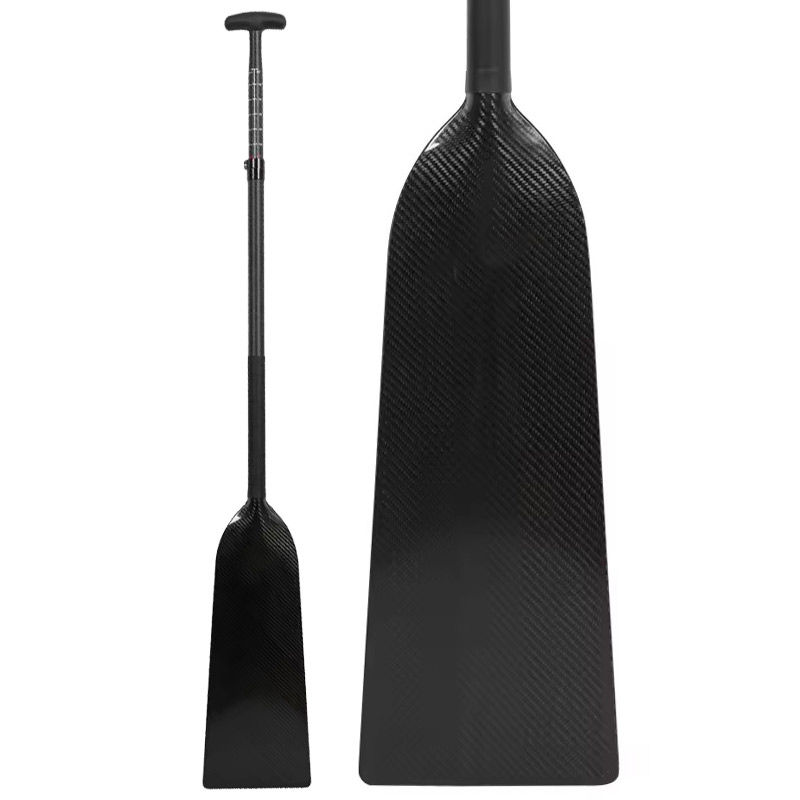
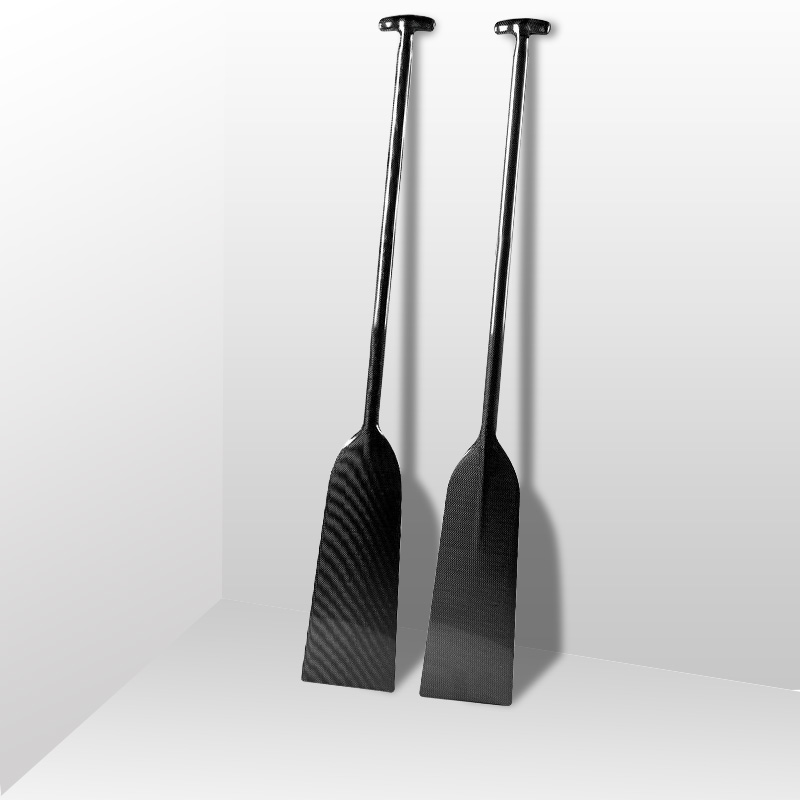
Blade angle matters because the correct face must arrive flat without a long wrist search. If the two blades are offset, practice the indexing movement at your chosen feather setting. Our kayak paddle feather-angle guide explains how 0°, 30°, 45° and 60° settings change hand timing.
Blade area and shaft flex also affect the sensation. A larger blade may feel immediate but can increase the load if you reach or pull poorly; a smaller blade may sink sooner and demand cleaner timing. Compare those tradeoffs in the paddle blade size guide and paddle shaft flex guide. Neither specification corrects an early head lift or an exposed shoulder.
Diagnose the Result, Then Change One Variable
| What you observe | Likely cause | Next controlled correction |
|---|---|---|
| Blade dives immediately | Blade face was angled, contact was late or body weight remained on the paddle | Flatten the face sooner and start the knee drive as the blade meets the surface |
| Boat rises, then tips again | Head lifted early or the flat blade was pulled vertically from the water | Watch the working blade, finish leveling the hull, then slice the blade free |
| Working shoulder feels stretched | Blade reached too far, elbow moved behind the torso or arm locked | Stop the drill; return to a compact, coached position at a smaller angle |
| Only the dominant side works | Paddle indexing or lower-body contact differs between sides | Reduce the angle and give the weaker side separate, low-repetition practice |
| Arms work hard but hull barely moves | Loose outfitting or no coordinated knee/hip action | Check releasable fit, then repeat a supported lower-body recovery without the paddle |
| Brace works in drills but not in chop | Recognition and timing have not transferred to a dynamic environment | Add gentle, predictable disturbance with a coach before increasing conditions |
When Not to Attempt Another Brace
- You are already fully inverted without a trained roll. Follow the wet-exit procedure you practiced rather than improvising underwater.
- Your shoulder, wrist or neck hurts. End the drill and seek appropriate professional assessment; changing blades is not a treatment.
- The water adds hazards you cannot manage. Current, cold, rocks, surf, traffic and distance from shore change the rescue problem.
- Your spotter cannot provide immediate help. Move the exercise back to a controlled venue.
- Fatigue has changed your form. A late, wide reach under fatigue is not useful repetition.
Review other avoidable setup and judgment errors in our guide to common kayaking mistakes. If you are still choosing a paddle, start with the broader kayak paddle guide rather than selecting equipment from a single recovery drill.
Your 60-Second Pre-Launch Review
- PFD fitted and appropriate for the venue
- Weather, water temperature, current and traffic checked
- Spray-skirt release visible and wet exit already learned
- Foot and thigh contact secure but easy to release
- Power face, back face and paddle feather orientation identified
- Spotter, rescue plan and practice boundary agreed
- First repetitions limited to a small edge on both sides
Questions Paddlers Ask About Bracing
Should a beginner learn the low brace or high brace first?
Start with the low brace and lower-body boat control in a supervised, controlled setting. It addresses an early loss of balance with a compact paddle position. Add high-brace awareness and practice later with an instructor who can correct shoulder position.
Why does the paddle blade sink?
Every static blade eventually sinks when loaded. The useful question is whether it gave enough momentary support for the hull to start returning upright. A blade that dives instantly may be angled, late or carrying too much upper-body weight.
Is bracing different in a sit-on-top kayak?
The paddle can still provide surface support, but the lower-body connection differs. Without thigh hooks, recovery relies more on leg pressure, seat contact and moving your mass back over the hull. Practice the boat-specific movement with instruction.
Does a larger paddle blade make bracing easier?
It may provide a firmer initial response, but it can also create more load when technique is late or extended. Timing, blade angle, compact shoulder position and lower-body control matter more than simply maximizing area.
Is a brace the same as a kayak roll?
No. A brace aims to prevent a developing capsize before full inversion. A roll recovers an inverted kayak. They share lower-body control, paddle awareness and a head-last relationship, but require different progression and supervision.
The Best Recovery Is Early, Compact and Repeatable
A reliable kayak brace is not a dramatic paddle slap. It is an early decision followed by a compact blade position, coordinated knee and hip action, a protected shoulder and a patient head. Learn the low brace on both sides, keep high-brace practice inside a coached safety framework, and maintain the wet-exit and rescue skills needed when prevention does not work.
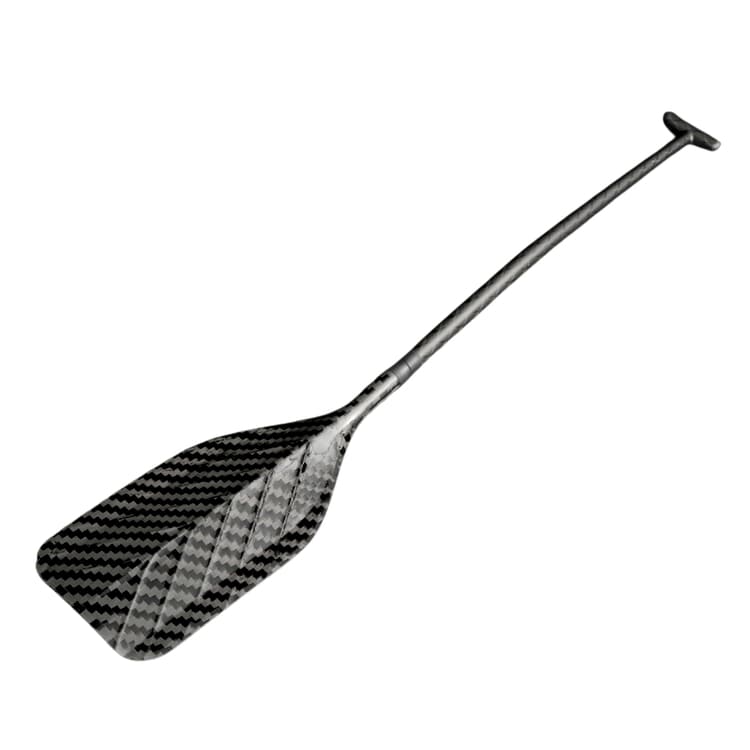
For equipment context, explore Unitysurf’s kayak paddle range; for technique, let conditions and qualified instruction—not the stiffness or size of the paddle—set your next progression.
Safety scope: This article is educational and cannot assess your boat fit, physical condition, water venue or rescue plan. Practice with an appropriately qualified instructor or capable safety partner in controlled water, follow local rules, and stop if pain, cold, panic or deteriorating conditions appear.