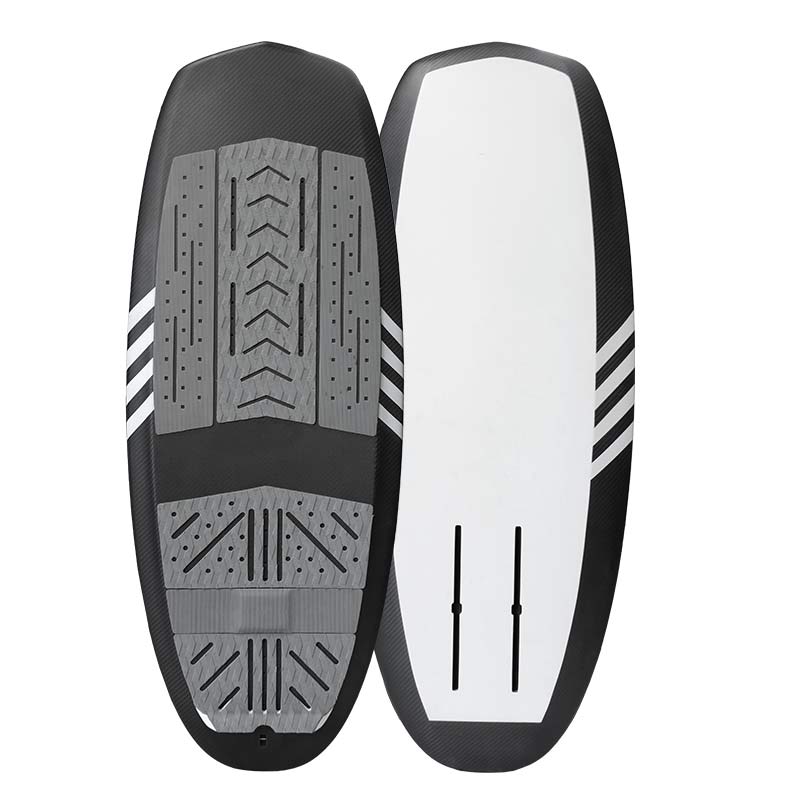
Ready to craft a surfboard that combines featherlight weight with lightning-fast responsiveness? Carbon fiber surfboard building is the pinnacle of performance, offering unmatched strength-to-weight ratios, razor-sharp handling, and explosive speed. This comprehensive surfboard building guide walks you through the process of creating your own carbon fiber surfboard, optimized for performance and durability. Whether you’re a DIY enthusiast or a seasoned shaper, this tutorial will help you master surfboard building to create a board that slices through waves like a hot knife through butter.
Why Choose Carbon Fiber for Surfboard Building?
Carbon fiber surfboards are the go-to choice for surfers chasing peak performance. Compared to traditional fiberglass boards, carbon fiber surfboard building offers:
-
Lightweight Design: Reduces swing weight for quicker turns.
-
Superior Strength: Handles high-impact waves without cracking.
-
Enhanced Responsiveness: Translates every movement into immediate action.
-
Customizable Stiffness: Tailor flex for your riding style.
However, surfboard building with carbon fiber is complex, requiring precision, patience, and specialized equipment. This guide breaks down the surfboard build process into manageable steps, ensuring you can craft a board that rivals professional builds.
Materials and Tools
The Foundation of Precision Surfboard Building
Core Materials
-
Foam Core (Blank):
-
Type: High-density polyurethane (PU) or polystyrene (EPS/XPS). EPS is lighter but requires epoxy resin compatibility to avoid corrosion (polyester resin eats EPS).
-
Cost: $28–$84 per blank.
-
Tip: Ensure the foam is closed-cell for durability and resin compatibility in your surfboard build.
-
-
Carbon Fiber Fabric:
-
Weave Types: Plain or twill weaves for balanced strength; unidirectional cloth for targeted reinforcement.
-
Weight Options: 80g/m², 120g/m², 160g/m², or 200g/m². Heavier fabrics increase strength but add thickness.
-
Layup Strategy: Combine multiple layers with varying weights and orientations (0°/90°, ±45°) for optimal strength, stiffness, and flex. Hybrid layers with fiberglass can reduce costs or enhance toughness at rails/bottom.
-
Cost: $70–$210 for enough fabric for one surfboard build.
-
-
Epoxy Resin System:
-
Resin: Low-viscosity, high-toughness epoxy designed for vacuum infusion or hand layup.
-
Hardener: Precisely matched to the resin for proper curing.
-
Features: Strong bonding with carbon fiber, low shrinkage, excellent fatigue resistance, and superior weatherproofing compared to polyester.
-
Cost: $42–$112 per system.
-
Tip: Follow manufacturer’s mixing ratio exactly to avoid curing issues in surfboard building.
-
-
Vacuum Bagging Materials (Highly Recommended):
-
Vacuum Bag Film: Durable, puncture-resistant plastic.
-
Sealing Tape: High-tack tape for airtight seals.
-
Flow Media/Breather Cloth: Guides resin flow and absorbs excess.
-
Vacuum Pump and Fittings: Provides consistent negative pressure.
-
Cost: $28–$70 for consumables per surfboard build.
-
-
Release Agent:
-
Ensures clean demolding from the mold.
-
Cost: Included in miscellaneous consumables ($28–$70).
-
-
Gelcoat/Coloring (Optional):
-
Epoxy-compatible gelcoat or pigment for aesthetic finishes.
-
Cost: Included in consumables.
-
-
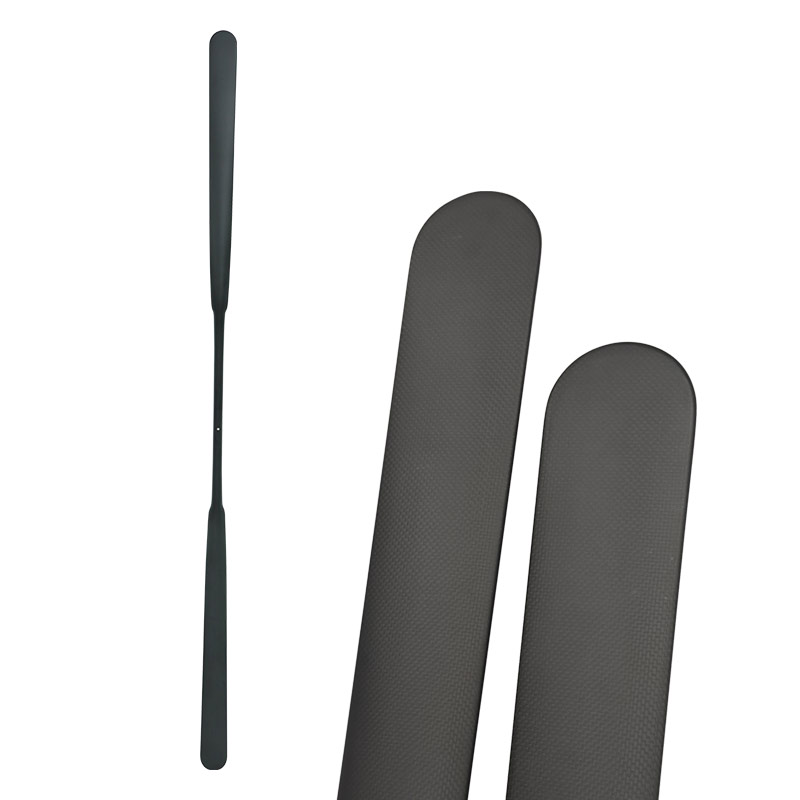
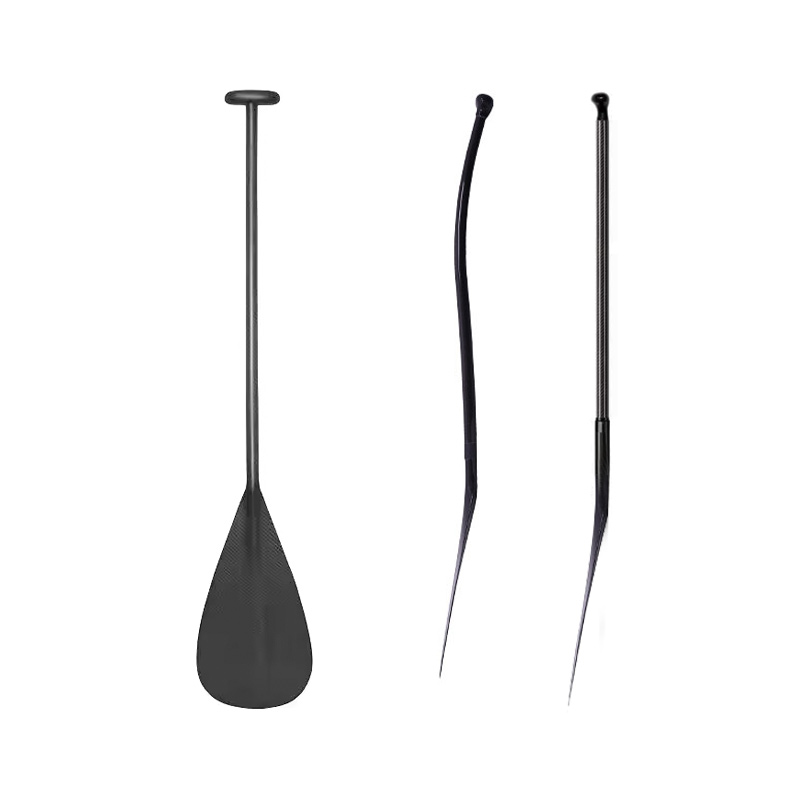
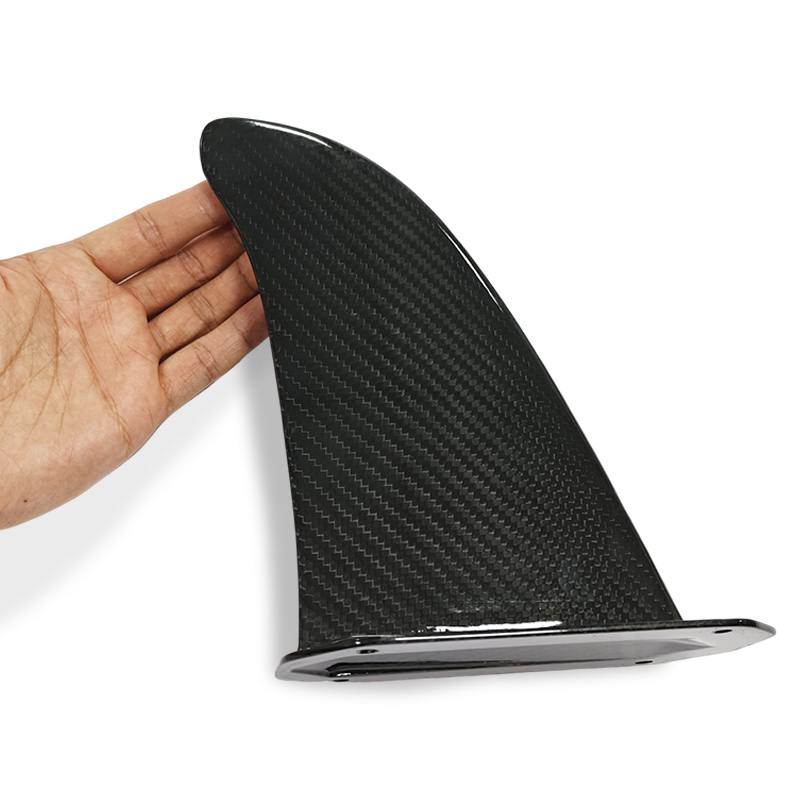
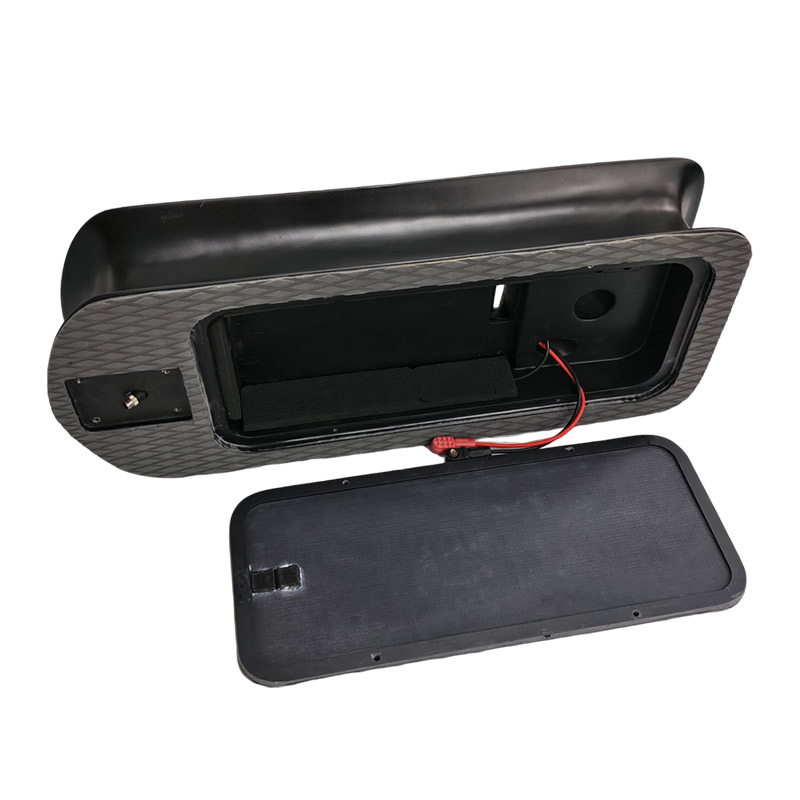
Fin Boxes and Leash Plug:
-
Compatible with Futures, FCS II, or similar systems.
-
Cost: $14–$42.
-
Essential Tools for Surfboard Building
-
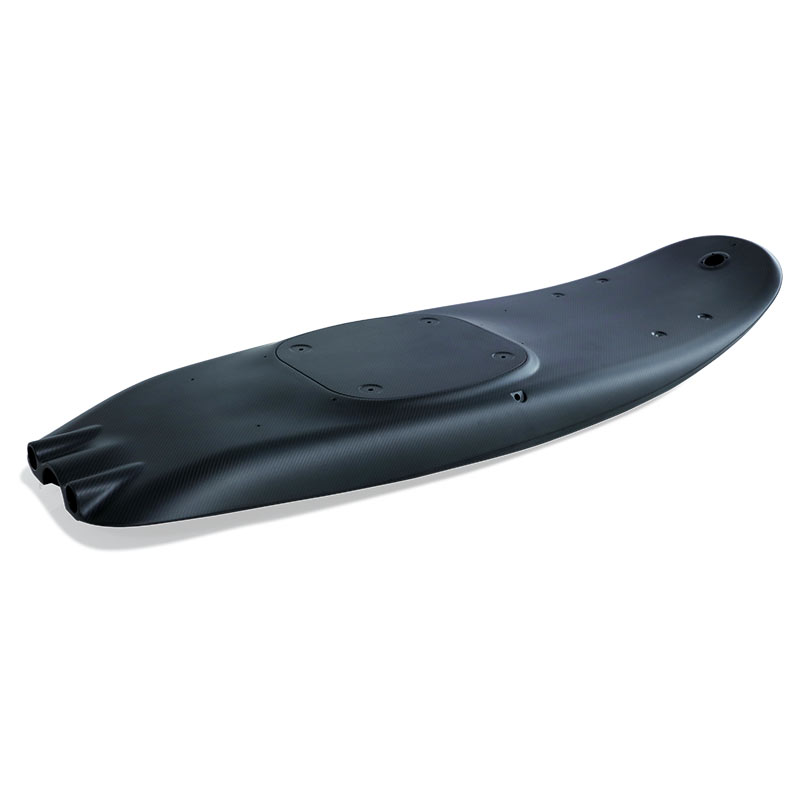
Mold: CNC-machined fiberglass mold (female mold for precision) or a hand-shaped foam blank (male mold for DIY). Female molds ensure perfect bottom/rail contours. Cost: $700–$4200 for professional molds; DIY foam molds are cheaper but less precise.
-
Precision Scale: 0.1g accuracy for resin mixing.
-
Mixing Containers and Sticks: Disposable cups and clean stirrers.
-
Brushes and Rollers: Foam brushes and lint-free rollers for resin application and bubble removal.
-
Cutting Tools: Utility knives or rotary cutters for clean fabric cuts.
-
Sanding Tools: Sandpaper (80–800+ grit), sanding blocks, and optional pneumatic/electric sanders.
-
Measuring Tools: Ruler, tape measure.
-
Personal Protective Equipment (PPE): Nitrile gloves, organic vapor respirator with carbon filters, safety goggles, long-sleeve workwear, and a well-ventilated workspace. Critical: Carbon fiber dust and epoxy fumes are hazardous in surfboard building.
-
Heating Lamp/Room (Optional): Controls curing temperature for optimal resin performance.
Step-by-Step Surfboard Building Process
From Blank to Wave Weapon
Stage 1: Design and Preparation
-
Board Design:
-
Choose board type (shortboard, longboard, gun), dimensions, thickness, tail shape, and fin setup for your surfboard build.
-
Use proven designs or consult a shaper for custom specs.
-
Select a compatible fin system (e.g., Futures, FCS II).
-
-
Mold Preparation:
-
Clean the mold to remove dust and oil.
-
Apply 2–3 layers of release agent, allowing each to dry fully. This prevents sticking during demolding in surfboard building.
-
-
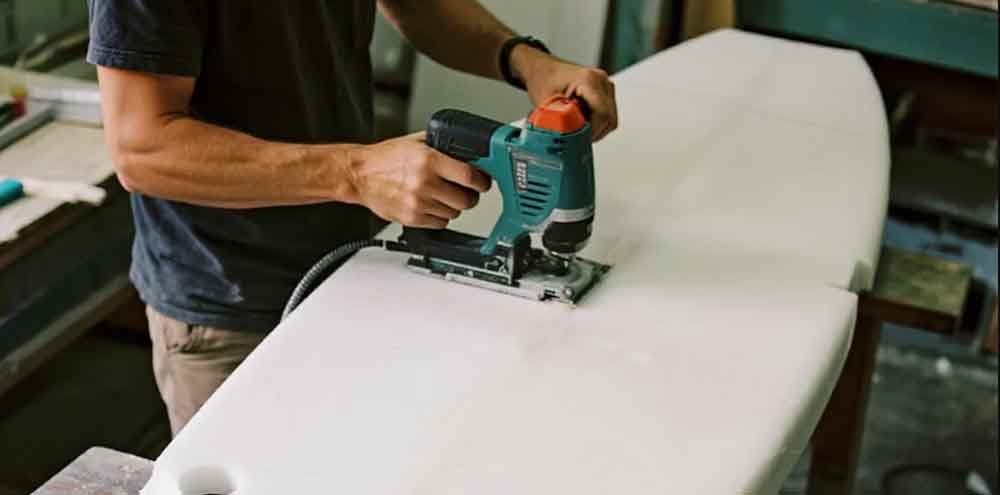
Core Preparation (If Using Foam Blank):
-
Shape the foam blank to match your surfboard build design (rails, rocker, fin areas) using CNC or hand tools.
-
Cut precise slots for fin boxes and leash plugs.
-
Temporarily secure fin boxes and leash plugs with epoxy mixed with microballoons (lightweight filler).
-
Stage 2: Layup and Vacuum Infusion
-
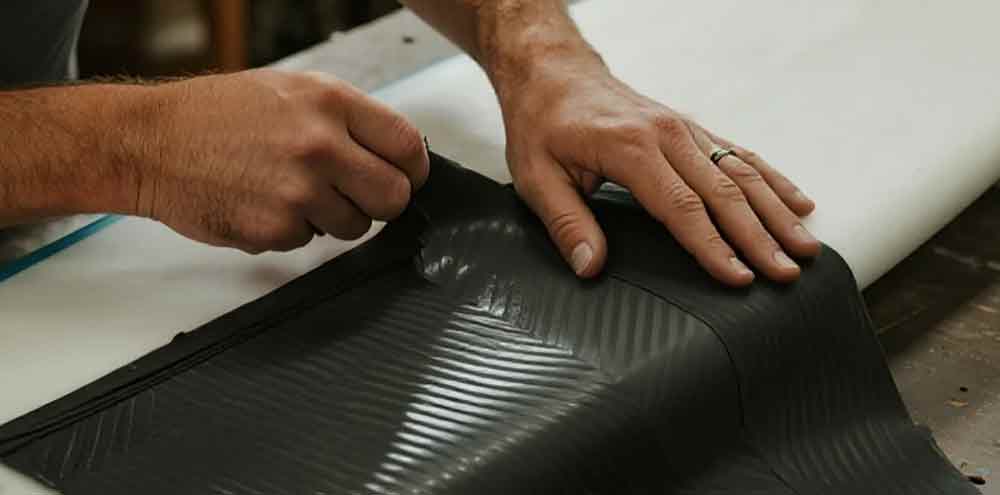
Cutting Carbon Fiber:
-
Use a sharp rotary cutter or scissors on a clean surface to cut fabric to size, accounting for rail wrap and overlap.
-
Align fiber directions per your surfboard build layup plan (e.g., 0°/90° for bottom, ±45° for torsion resistance).
-
-
Layup:
-
Place the first carbon layer (typically the bottom) in the mold or on the foam core, ensuring no wrinkles. Use removable spray adhesive sparingly to hold it in place.
-
Stack additional layers with alternating orientations, reinforcing high-stress areas (rails, fin boxes, leash plug) with extra patches.
-
For vacuum infusion: Add flow media and breather cloth over the layup, then position resin inlet (center/high point) and vacuum outlet (edges/low point) tubes.
-
-
Vacuum Bagging:
-
Cover the layup with a vacuum bag film, sealing edges with high-tack tape.
-
Connect the vacuum pump and achieve a stable vacuum (around -0.9 bar or -26 inHg). Check for leaks and fix with additional tape.
-
-
Resin Infusion:
-
Mix epoxy resin and hardener precisely (e.g., 2:1 ratio, per manufacturer specs).
-
Slowly introduce resin through the inlet tube, letting it flow evenly across the fabric. Monitor until resin exits the outlet with minimal bubbles.
-
Maintain vacuum pressure to remove excess resin and air, ensuring a high fiber-to-resin ratio in your surfboard build.
-
-
Curing:
-
Cure at room temperature (25°C/77°F) for 24–48 hours, following the resin’s curing curve.
-
Optionally, post-cure at 40–50°C (104–122°F) for 6–8 hours to maximize strength. Avoid overheating, which can weaken the foam core.
-
Stage 3: Demolding and Finishing
-
Demolding:
-
Once cured and cooled, release the vacuum and carefully remove the vacuum bag.
-
Gently separate the board from the mold, leveraging the release agent for a clean release in surfboard building.
-
-
Rough Trimming:
-
Cut away excess resin runners and flow media with a utility knife.
-
Sand rough edges with 80–120 grit sandpaper.
-
-
Rail and Fin Slot Finishing:
-
Sand rails to a smooth, hydrodynamic contour.
-
Carefully cut out fin box and leash plug slots with precision tools.
-
-
Sanding:
-
Progressively sand the board with finer grits (220 → 320 → 400 → 600 → 800+).
-
Aim for a glass-smooth surface. Caution: Carbon fiber is conductive; use pneumatic tools to avoid sparks from electric sanders in surfboard building.
-
-
Painting/Polishing:
-
Paint Option: Clean the surface, apply epoxy-compatible primer, color coat, and polyurethane clear coat for UV and scratch resistance. Sand lightly between coats for adhesion.
-
Polished Carbon Option: Wet-sand from 600 to 3000+ grit, then buff with coarse, medium, and fine polishing compounds for a mirror-like naked carbon finish.
-
-
Final Assembly:
-
Install fins and leash plug securely.
-
Inspect for imperfections and test fit all components.
-
Key Techniques and Challenges in Surfboard Building
Vacuum Infusion vs. Hand Layup
-
Vacuum Infusion (Recommended):
-
Ensures uniform resin distribution, minimal air voids, and a high fiber-to-resin ratio (lighter, stronger boards).
-
Requires significant equipment investment and technical skill for surfboard building.
-
-
Hand Layup:
-
Simpler and cheaper but prone to air bubbles, uneven resin distribution, and heavier boards.
-
Not ideal for high-performance carbon fiber surfboard builds.
-
Layup Design
-
Fiber Orientation: Align 0° fibers along the board’s length for bending strength; use ±45° for torsional rigidity.
-
Layer Thickness: Thicken high-stress areas (center, foot zones); thin out rails and nose/tail for agility.
-
Hybrid Layers: Use fiberglass or Kevlar on the bottom for abrasion resistance or rails for impact toughness in surfboard building.
Resin and Curing Control
-
Mixing Precision: Resin-to-hardener ratio must be exact (within 1–2% error). Incomplete mixing leads to tacky, weak cures.
-
Exotherm Management: Large resin volumes generate heat, risking foam core melting. Vacuum infusion mitigates this by reducing resin volume.
-
Post-Curing: Elevated-temperature curing enhances resin toughness but requires precise control in surfboard building.
Safety Considerations in Surfboard Building
-
Carbon Fiber Dust: Conductive and hazardous; use dust collection and a respirator.
-
Epoxy Fumes: Work in a ventilated space with a proper organic vapor respirator.
-
Electrical Risks: Avoid electric tools on exposed carbon fiber to prevent sparks.
Case Study: Building a 5’10” High-Performance Shortboard
-
Core: CNC-shaped high-density PU foam (epoxy-compatible).
-
Layup:
-
Bottom: 1 layer 200g/m² twill carbon (0°/90°) + 1 layer 120g/m² plain carbon (±45°) + 1 layer 4oz Kevlar/fiberglass hybrid for abrasion resistance.
-
Deck: 1 layer 160g/m² unidirectional carbon (0° for longitudinal strength) + 1 layer 120g/m² twill (±45° for torsion).
-
Reinforcements: Extra 80g/m² carbon strips around rails; 120g/m² patches at foot zones and fin boxes.
-
-
Resin: Low-viscosity epoxy (e.g., Resin Research or Entropy CLR).
-
Curing: 24 hours at 25°C, followed by 6–8 hours at 40–50°C.
-
Finish: 800-grit sanding, epoxy primer, polyurethane color coat, and thickened clear coat on the bottom for durability.
Cost Breakdown for a Surfboard Build
-
Carbon Fiber Fabric: $70–$210.
-
Epoxy Resin System: $42–$112.
-
Foam Core: $28–$84.
-
Vacuum Consumables: $28–$70.
-
Fin Boxes/Leash Plug: $14–$42.
-
Paint/Consumables: $28–$70.
-
Total Material Cost: $210–$630.
Equipment Investment Cost
-
Vacuum Pump: $140–$700.
-
Professional Mold: $700–$4200.
-
Sanding/Painting Tools: $140–$700.
Challenges to Anticipate in Surfboard Building
-
High Startup Costs: Professional molds and vacuum systems are expensive. DIY foam molds save money but compromise precision.
-
Steep Learning Curve: Mastering layup design, vacuum infusion, and curing takes practice in surfboard building.
-
Precision Demands: Every step—from cutting to resin mixing—requires exactness.
-
Safety Risks: Proper PPE and ventilation are non-negotiable.
-
Time Commitment: A single surfboard build can take days, far longer than traditional PU boards.
Conclusion: Crafting Your Wave-Conquering Surfboard Build
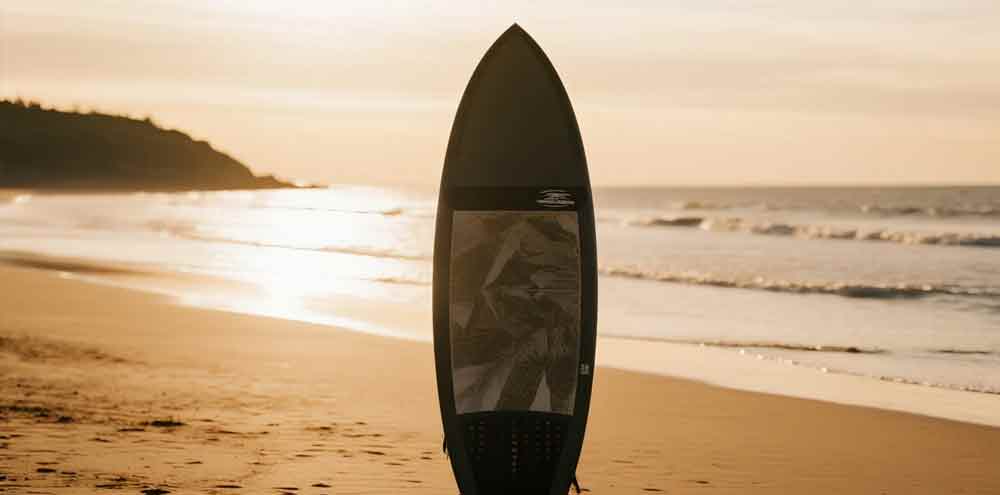
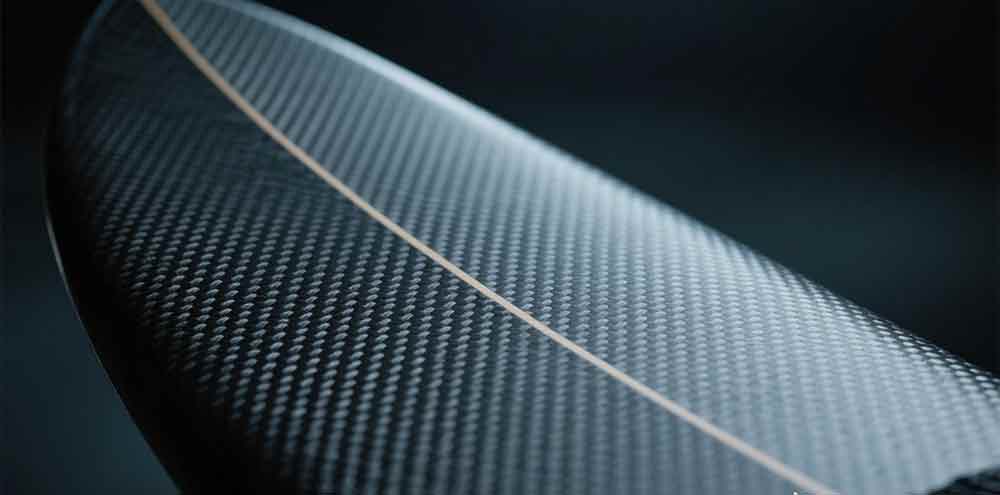
Surfboard building with carbon fiber is a fusion of materials science, hydrodynamics, and craftsmanship. It’s not for the faint of heart, requiring significant investment, technical skill, and patience. Vacuum infusion, precise layup design, and controlled curing are the cornerstones of a board that’s light, strong, and responsive. When you finally paddle out on a surfboard build you’ve crafted yourself, carving a perfect line through a glassy wave, the effort will feel worth it. The sleek, black carbon wing under your feet will unlock speed and agility you never thought possible.
Pro Tip: Start small with repairs or components (e.g., fins) to build skills for surfboard building. Consider joining a workshop for hands-on guidance. Above all, prioritize safety—carbon fiber and epoxy demand respect.
Now grab your tools, suit up with PPE, and start your surfboard build. The waves are waiting! If you want to find a composite board manufacturer to produce carbon fiber kite surfboard, wakeboard, foilboard, surfboard, etc. Welcome to contact us, thank you.