Whitewater canoeing is an exhilarating way to explore rivers, tackle rapids, and connect with nature. Whether you’re a solo paddler or hitting the water with a partner, properly outfitting your whitewater canoe ensures safety, comfort, and durability on the toughest stretches of river. At Unity Sports, we’re passionate about helping paddlers customize their canoes for peak performance. In this comprehensive guide, we’ll walk you through the process of outfitting a 15-foot whitewater canoe, covering everything from cleaning the boat to installing thigh straps, knee pads, airbags, grab handles, and skid plates.
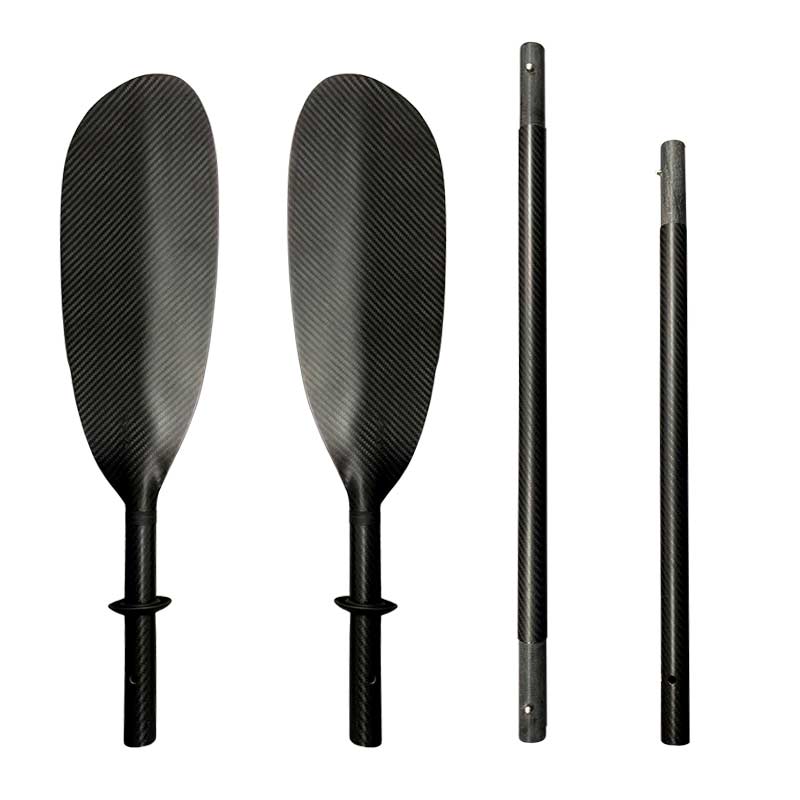
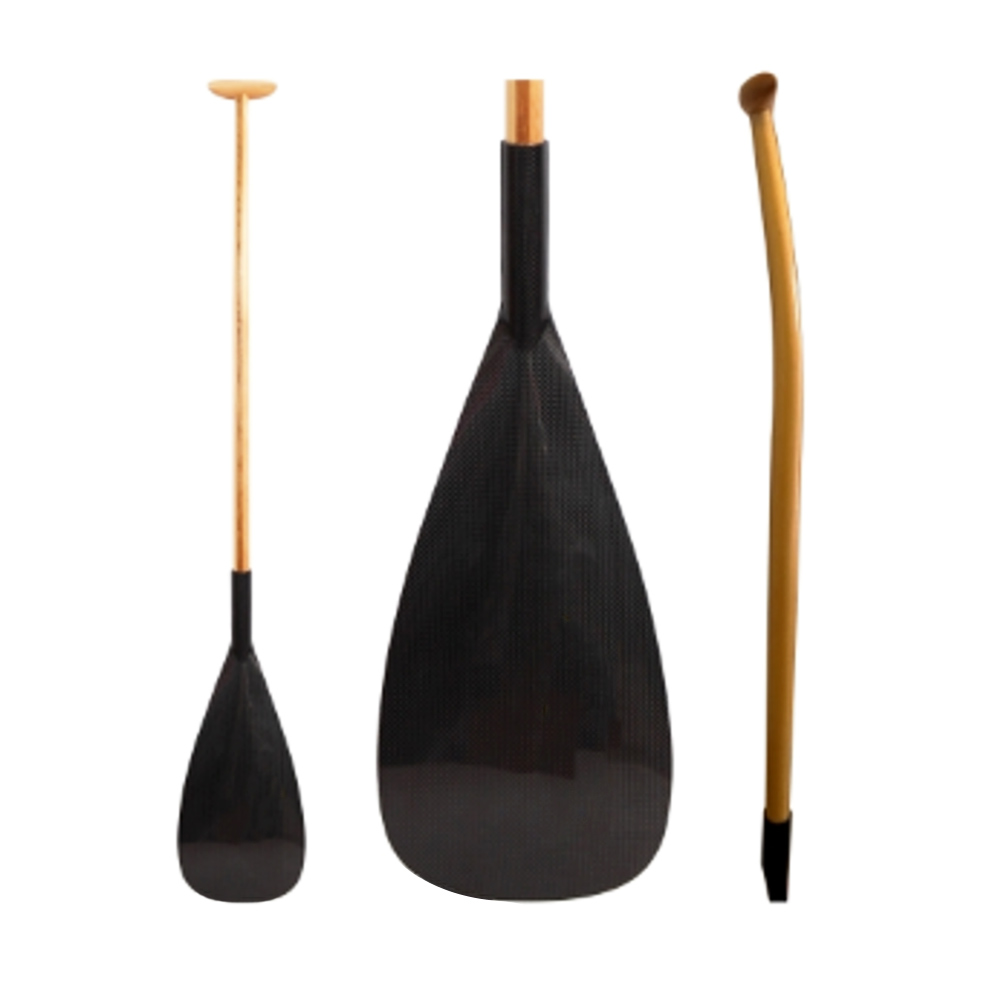
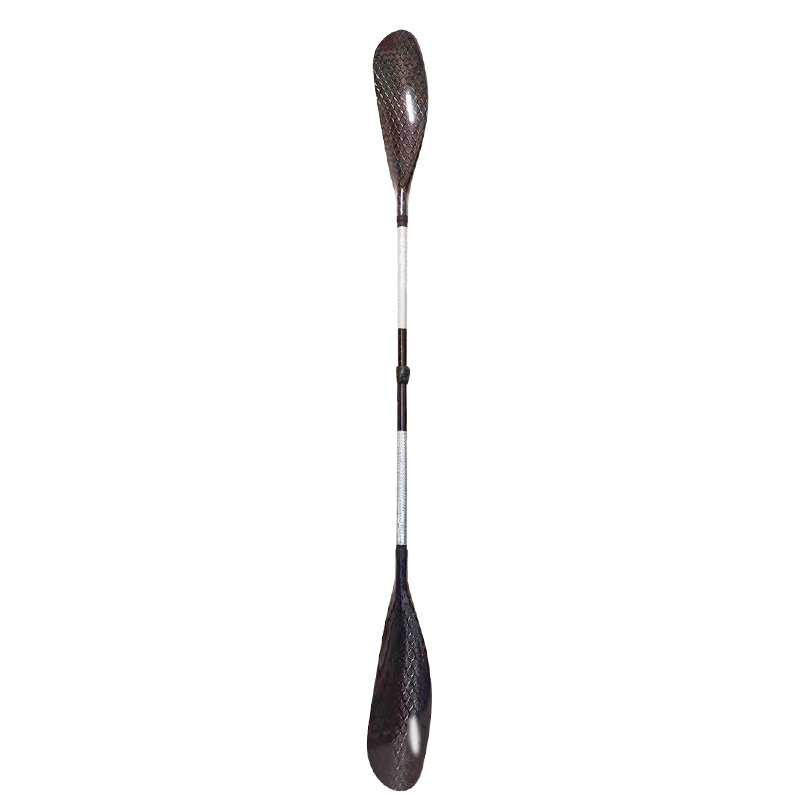
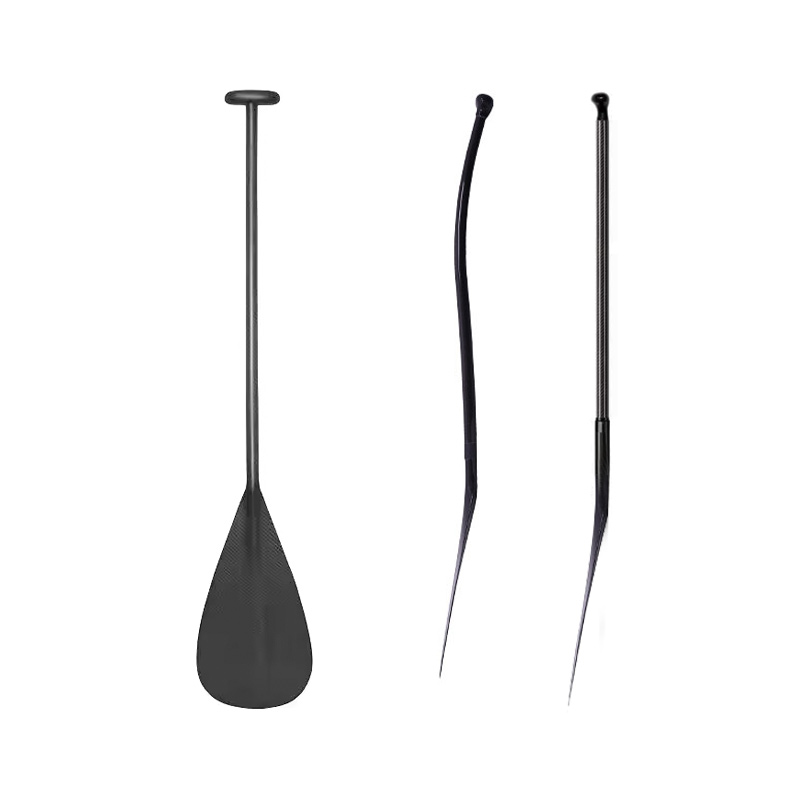
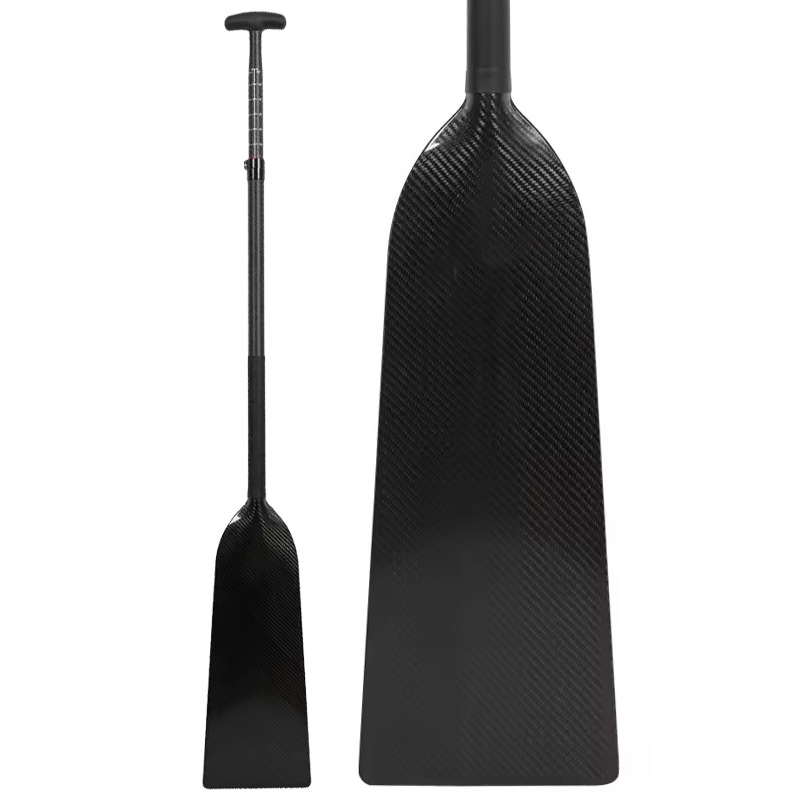
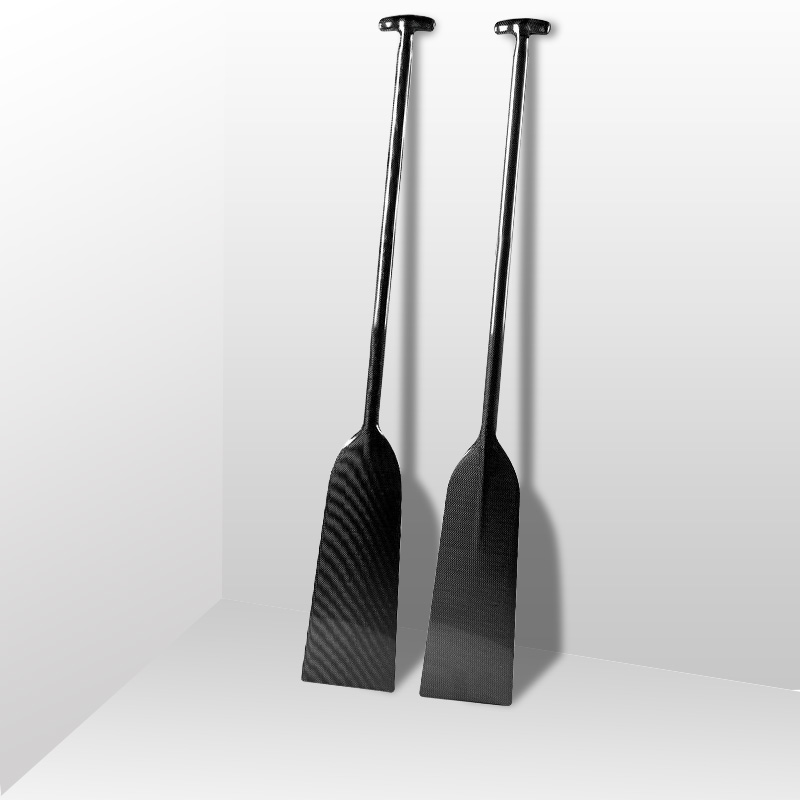
And if you need the canoe paddle manufacturing service, welcome to click the link to check.
Why Outfitting Your Whitewater Canoe Matters
Outfitting a whitewater canoe transforms a factory-fresh boat into a personalized, high-performance vessel ready for rapids, rocks, and long river trips. Proper outfitting enhances control, safety, and comfort while protecting your investment from the rigors of river canoeing. Whether you’re preparing for a solo adventure or a tandem trip, customizations like airbags, knee pads, and skid plates make your canoe more responsive and resilient. Let’s dive into the step-by-step process of outfitting your canoe, starting with the basics.
Step 1: Cleaning Your Whitewater Canoe
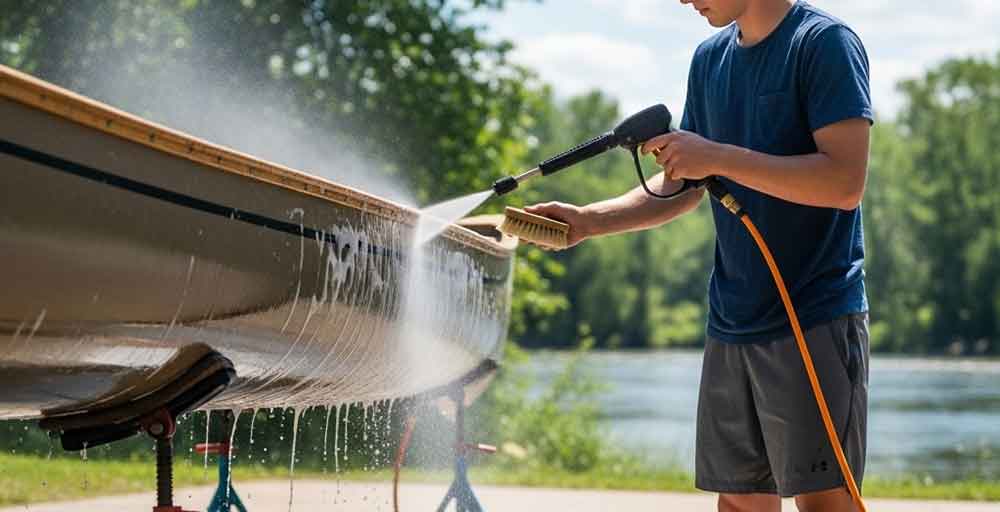
Even a brand-new whitewater canoe arrives with factory residue, including grit, grease, and mold-release oil. These contaminants can interfere with adhesive bonding during canoe outfitting, so a thorough cleaning is essential.
Materials Needed:
-
Pressure washer
-
Hot soapy water
-
Scrub brush
-
Acetone (for boats)
-
Clean rags
Cleaning Process:
-
Pressure Wash: Take the canoe outside and use a pressure washer to remove loose dirt and debris. Focus on areas where dust clings to oily residues, especially around the hull and gunnels.
-
Scrub with Soap: Use hot soapy water and a scrub brush to clean the entire surface. This removes grease and prepares the canoe for outfitting.
-
Acetone Wipe: For canoes, lightly wipe the bonding areas with acetone using a rag. Acetone cleans the surface without damaging the plastic, but avoid over-application to prevent softening the material. Let the acetone evaporate for a minute before proceeding.
A clean canoe ensures strong adhesion for canoe accessories like thigh straps and knee pads, setting the stage for a successful canoe outfitting project.
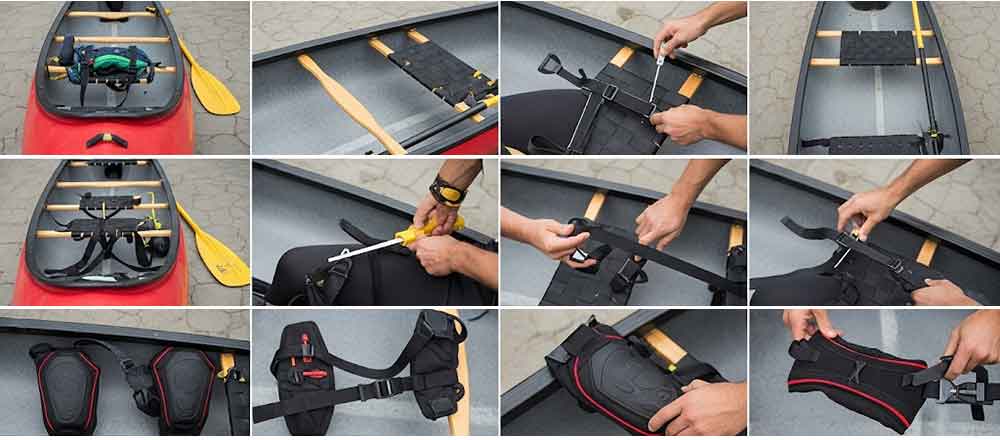
Step 2: Installing Thigh Straps and Knee Pads
Thigh straps and knee pads (or knee cups) are critical for maintaining control in a whitewater canoe, especially during rapid descents. These paddle sports accessories lock you into the boat, allowing precise maneuvers while protecting your knees from bruising.
Materials Needed:
-
Thigh strap kit (anchors, webbing, stainless steel buckles, plastic clips)
-
Knee pads (soft foam)
-
HH66 adhesive or contact cement
-
Acetone for surface prep
-
Dry erase marker or pencil
-
Masking tape
-
150-grit sandpaper
-
Small roller or lighter (for pressing anchors)
Installation Process for Solo Paddling:
Since we’re outfitting this canoe for solo use, we’ll install thigh straps and knee pads behind the bow seat. For tandem paddling, you’d repeat the process in front of both the bow and stern seats.
-
Mark and Tape the Anchor Points:
-
Position side anchors for thigh straps about ¼ inch below the gunnel. If the seat obstructs this placement, center the anchor as high as possible.
-
Use a dry erase marker to mark the anchor locations. Tape off the area just outside the marks to keep glue contained and maintain a clean edge.
-
For the front anchor, place it about 5 inches in front of the seat. Mark the center of the anchor and align it with the seat’s centerline for symmetry.
-
-
Prepare the Surface:
-
Lightly sand the marked areas with 150-grit sandpaper to create a rough texture for better adhesion.
-
Wipe the sanded areas with acetone to remove dust and oils. Also clean the back of the anchors with acetone.
-
-
Apply Adhesive:
-
For thigh strap anchors, use HH66 adhesive, which is ideal for canoes. Apply a thin, even layer to both the canoe surface and the anchor’s back using the built-in brush.
-
Let the adhesive dry for 2–5 minutes until it’s tacky but not gooey. If it over-dries, apply another layer.
-
-
Attach the Anchors:
-
Start with one side of the anchor, pressing it down firmly and working across to avoid air bubbles. Use a small roller or the edge of a lighter to smooth out the anchor, especially around stitching.
-
Peel off the tape once the adhesive sets to reveal a clean edge.
-
-
Install Thigh Straps:
-
Thread the webbing through stainless steel buckles and side anchors, ensuring the tail feeds back forward for secure tension.
-
Attach plastic clips for quick release. Adjust the straps to center over your thighs when seated.
-
-
Position and Glue Knee Pads:
-
Climb into the canoe and assume your paddling position. Slide the knee pads under your knees, angling them to match your leg position.
-
Mark the four corners of each pad with a dry erase marker. Apply contact cement to both the foam and the canoe surface, letting it dry until shiny but not sticky (about 1–2 coats).
-
Carefully align the pads with the marks and press them down, starting from one corner to avoid misalignment. Firmly press to ensure full bonding.
-
This setup provides a secure, comfortable fit for solo whitewater canoeing, enhancing control during challenging rapids.
Step 3: Upgrading Grab Handles
Grab handles are essential for portaging, rescuing, or securing a whitewater canoe during a pin. Factory handles often use simple stopper knots, which can strain the hull and risk pulling out under heavy loads. Upgrading to continuous-loop grab handles with double fisherman’s knots distributes force evenly, improving safety and durability.
Materials Needed:
-
3/8-inch accessory cord (preferably in a color that matches your outfitting)
-
Deburring tool, file, or sandpaper
-
Scissors
Installation Process:
-
Remove Factory Handles: Untie or cut the existing stopper knots and remove the old cord.
-
Smooth the Edges: Check the hull’s rope holes for sharp edges from drilling. Use a deburring tool, file, or sandpaper to round them off, preventing rope wear.
-
Tie the Double Fisherman’s Knot:
-
Feed one end of the cord through one hole from the outside, crossing it to the opposite hole inside the canoe.
-
Tie a double fisherman’s knot by wrapping the cord around itself twice, passing the tail through the loops, and pulling tight. Repeat on the other side.
-
Adjust the loop size to allow hand access without creating an entanglement hazard. Trim excess cord.
-
-
Secure the Knot: Position the knots inside the hull, butted against the deck plate, to distribute force evenly when pulling.
These upgraded grab handles are stronger and more secure, making your river canoeing adventures safer and more reliable.
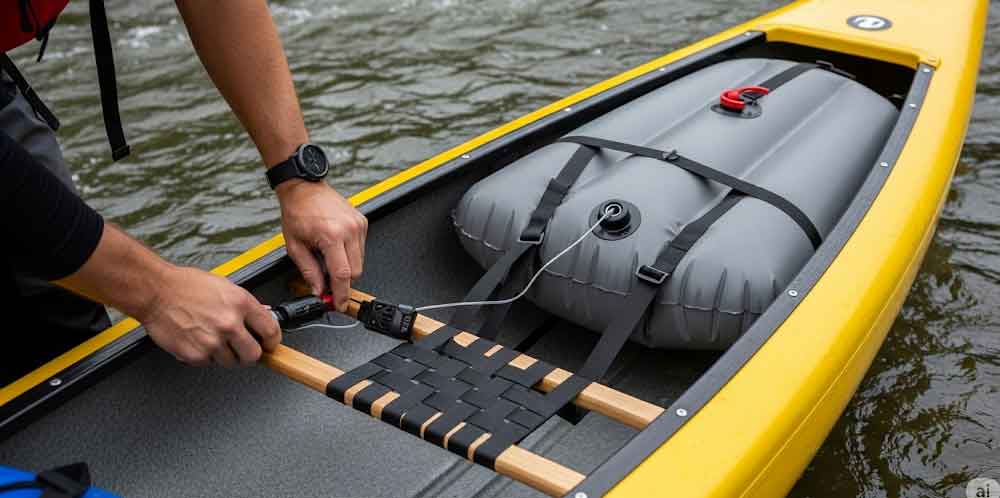
Step 4: Installing Airbag Cages
Airbags add buoyancy to a whitewater canoe, reducing the risk of pinning or wrapping around obstacles if you capsize. For a tripping canoe, smaller airbags balance buoyancy with gear storage, while larger airbags are ideal for day trips focused on running rapids.
Materials Needed:
-
Small airbags (e.g., NRS tandem tripping kit)
-
Accessory cord for lacing
-
Stainless steel or plastic P-clips (3/16-inch)
-
3/16-inch aluminum pop rivets
-
3/16-inch drill bit
-
Hand riveter
-
Dry erase marker
-
Tape measure
Installation Process:
-
Position the Airbag:
-
Inflate the airbag to approximate its final volume and tuck it into the bow or stern. Ensure it fills the space snugly without flopping.
-
Mark the center point for the anchor (about 32 inches from a reference point for symmetry).
-
-
Install Anchors:
-
Place one anchor in the center of the marked point and one on each side, slightly lower to form a “W” shape with the lacing.
-
Tape off, sand, clean with acetone, and glue the anchors using HH66, following the same process as for thigh straps.
-
-
Attach P-Clips:
-
Space P-clips every 4 inches along the gunnel, aligning them with the center anchor. Mark and drill 3/16-inch holes.
-
Secure P-clips with pop rivets using a hand riveter. Ensure the clips are centered over the anchors.
-
-
Lace the Cage:
-
Thread accessory cord through the P-clips, starting from one end and crossing to form loops. Tie an overhand knot on each side to maintain tension.
-
Lace from the center anchor to the side anchors, doubling up through P-clips for strength. Secure with two half-hitches for adjustability.
-
-
Insert and Inflate Airbag:
-
Slide the airbag into the cage and inflate it, adjusting the lacing to keep it secure. Tuck the bag tightly into the bow or stern.
-
Airbag cages enhance safety in paddle sports, keeping your canoe buoyant and maneuverable in rough waters.
Step 5: Adding Skid Plates
Skid plates protect the bow and stern of a whitewater canoe from abrasion and impact when grinding over rocks. Installing Kevlar felt skid plates with G/Flex epoxy adds durability without excessive drag.

Materials Needed:
-
Kevlar felt skid plates (pre-cut or custom)
-
G/Flex epoxy (1:1 ratio)
-
60-grit sandpaper
-
Acetone
-
Masking tape
-
Garbage bags (to protect the hull)
-
Cheap paintbrush
-
Mixing container with measurements
-
Gloves
Installation Process:
-
Position the Skid Plate:
-
Place the skid plate where the hull stops curving, about 10 inches from the stem. The larger end goes at the bottom, wrapping up the stem.
-
Center the plate and tape it in place, pulling it tight to conform to the hull’s shape.
-
-
Tape and Prep:
-
Tape around the skid plate, leaving a ¼-inch border to account for stretching. Tape garbage bags on either side to catch runoff.
-
Sand the area with 60-grit sandpaper until no shiny spots remain. Wipe with acetone to clean.
-
-
Mix and Apply Epoxy:
-
Mix G/Flex epoxy at a 1:1 ratio in a measured container. Warm the epoxy slightly (e.g., in the sun) for better flow, but avoid overheating.
-
Brush a thick layer of epoxy onto the sanded area, ensuring enough to wet out the Kevlar felt.
-
-
Attach the Skid Plate:
-
Lay the skid plate onto the epoxy, sliding it to align with the taped border. Dab additional epoxy over the felt, working it into the fabric until fully saturated.
-
Smooth the edges to blend the transition from hull to skid plate. Let it set for 30–60 minutes, then peel off the tape before the epoxy fully cures to avoid sticking.
-
-
Smooth the Edges:
-
After curing, check for stray fibers or rough edges. Gently smooth them with a damp finger or sandpaper if needed.
-
Skid plates are a must-have canoe accessory for protecting your boat during rugged whitewater canoeing trips.
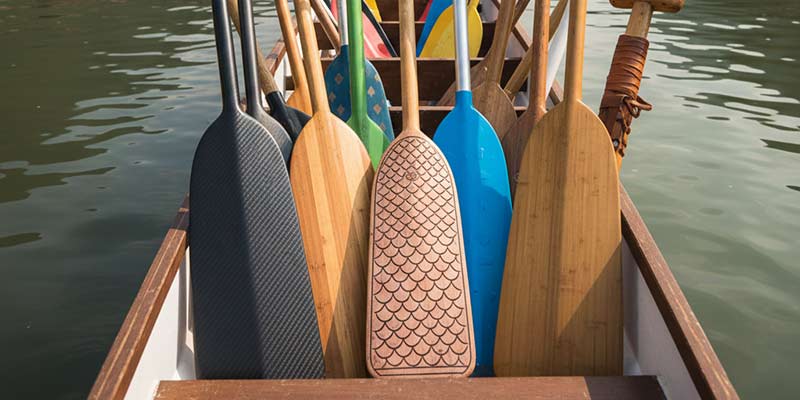
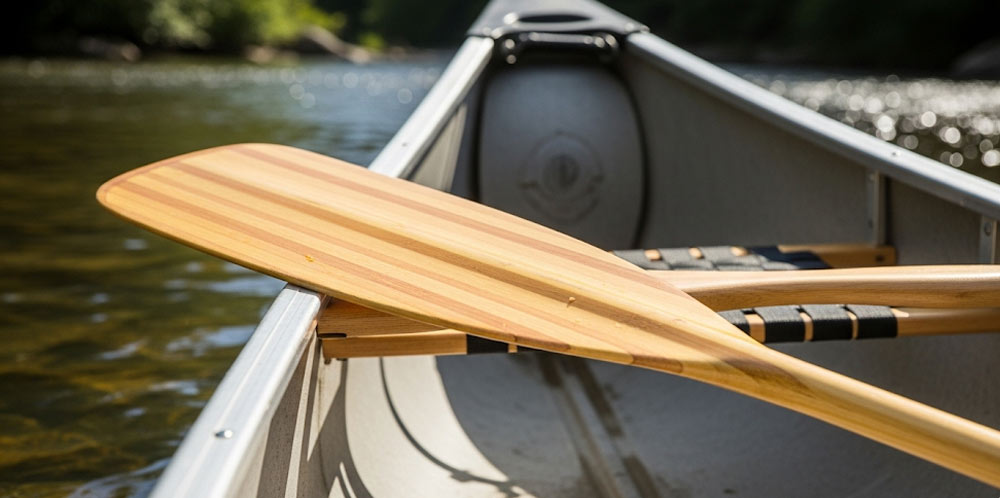
Step 6: Securing Spare Paddles
A spare paddle is a lifesaver on long river canoeing trips. Securing it properly ensures quick access without cluttering the canoe.
Materials Needed:
-
Paracord
-
Scissors
Installation Process:
-
Install Paddle Anchors:
-
Glue two anchors just in front of the yoke using the same process as for thigh straps (tape, sand, acetone, HH66 adhesive).
-
-
Tie the Paracord:
-
Cut a length of paracord and tie a triple-wrap fisherman’s knot, passing the tail through three loops for adjustable tension.
-
Tie a barrel knot at the end to prevent slipping. Slide the paddle handle through the loop and tighten to secure.
-
-
Adjust for Portaging:
-
Ensure the paddle is snug for portaging but easily removable by pulling the knot to release tension.
-
This setup keeps your spare paddle secure and accessible, enhancing safety during paddle sports adventures.
Final Touches and Testing
With thigh straps, knee pads, grab handles, airbag cages, skid plates, and paddle anchors installed, your whitewater canoe is ready for the river. Before hitting the water, test the fit:
-
Check Adhesive Bonds: Ensure all anchors and pads are firmly attached after 12 hours of curing.
-
Adjust Straps: Climb into the canoe and tweak thigh straps for a snug, comfortable fit.
-
Pack Gear: For tripping canoes, verify that airbags leave enough space for barrels or packs. Our setup accommodated a pack and barrel perfectly.
-
Inspect Grab Handles: Pull on the handles to confirm the knots hold under pressure.
Your outfitted canoe is now optimized for whitewater canoeing, balancing performance, safety, and storage for solo or tandem adventures.
Conclusion: Paddle with Confidence
Outfitting a whitewater canoe is a rewarding process that enhances your river canoeing experience. By customizing your boat with thigh straps, knee pads, airbags, grab handles, skid plates, and paddle anchors, you’ll paddle with greater control, comfort, and confidence. At Unity Sports, we’re committed to empowering paddlers with the knowledge and tools to tackle any rapid. Whether you’re a seasoned pro or new to paddle sports, this guide equips you to outfit your canoe like a pro. Grab your paddle, hit the river, and enjoy the thrill of whitewater canoeing!